August Senior Craft: Painted Mason Jars
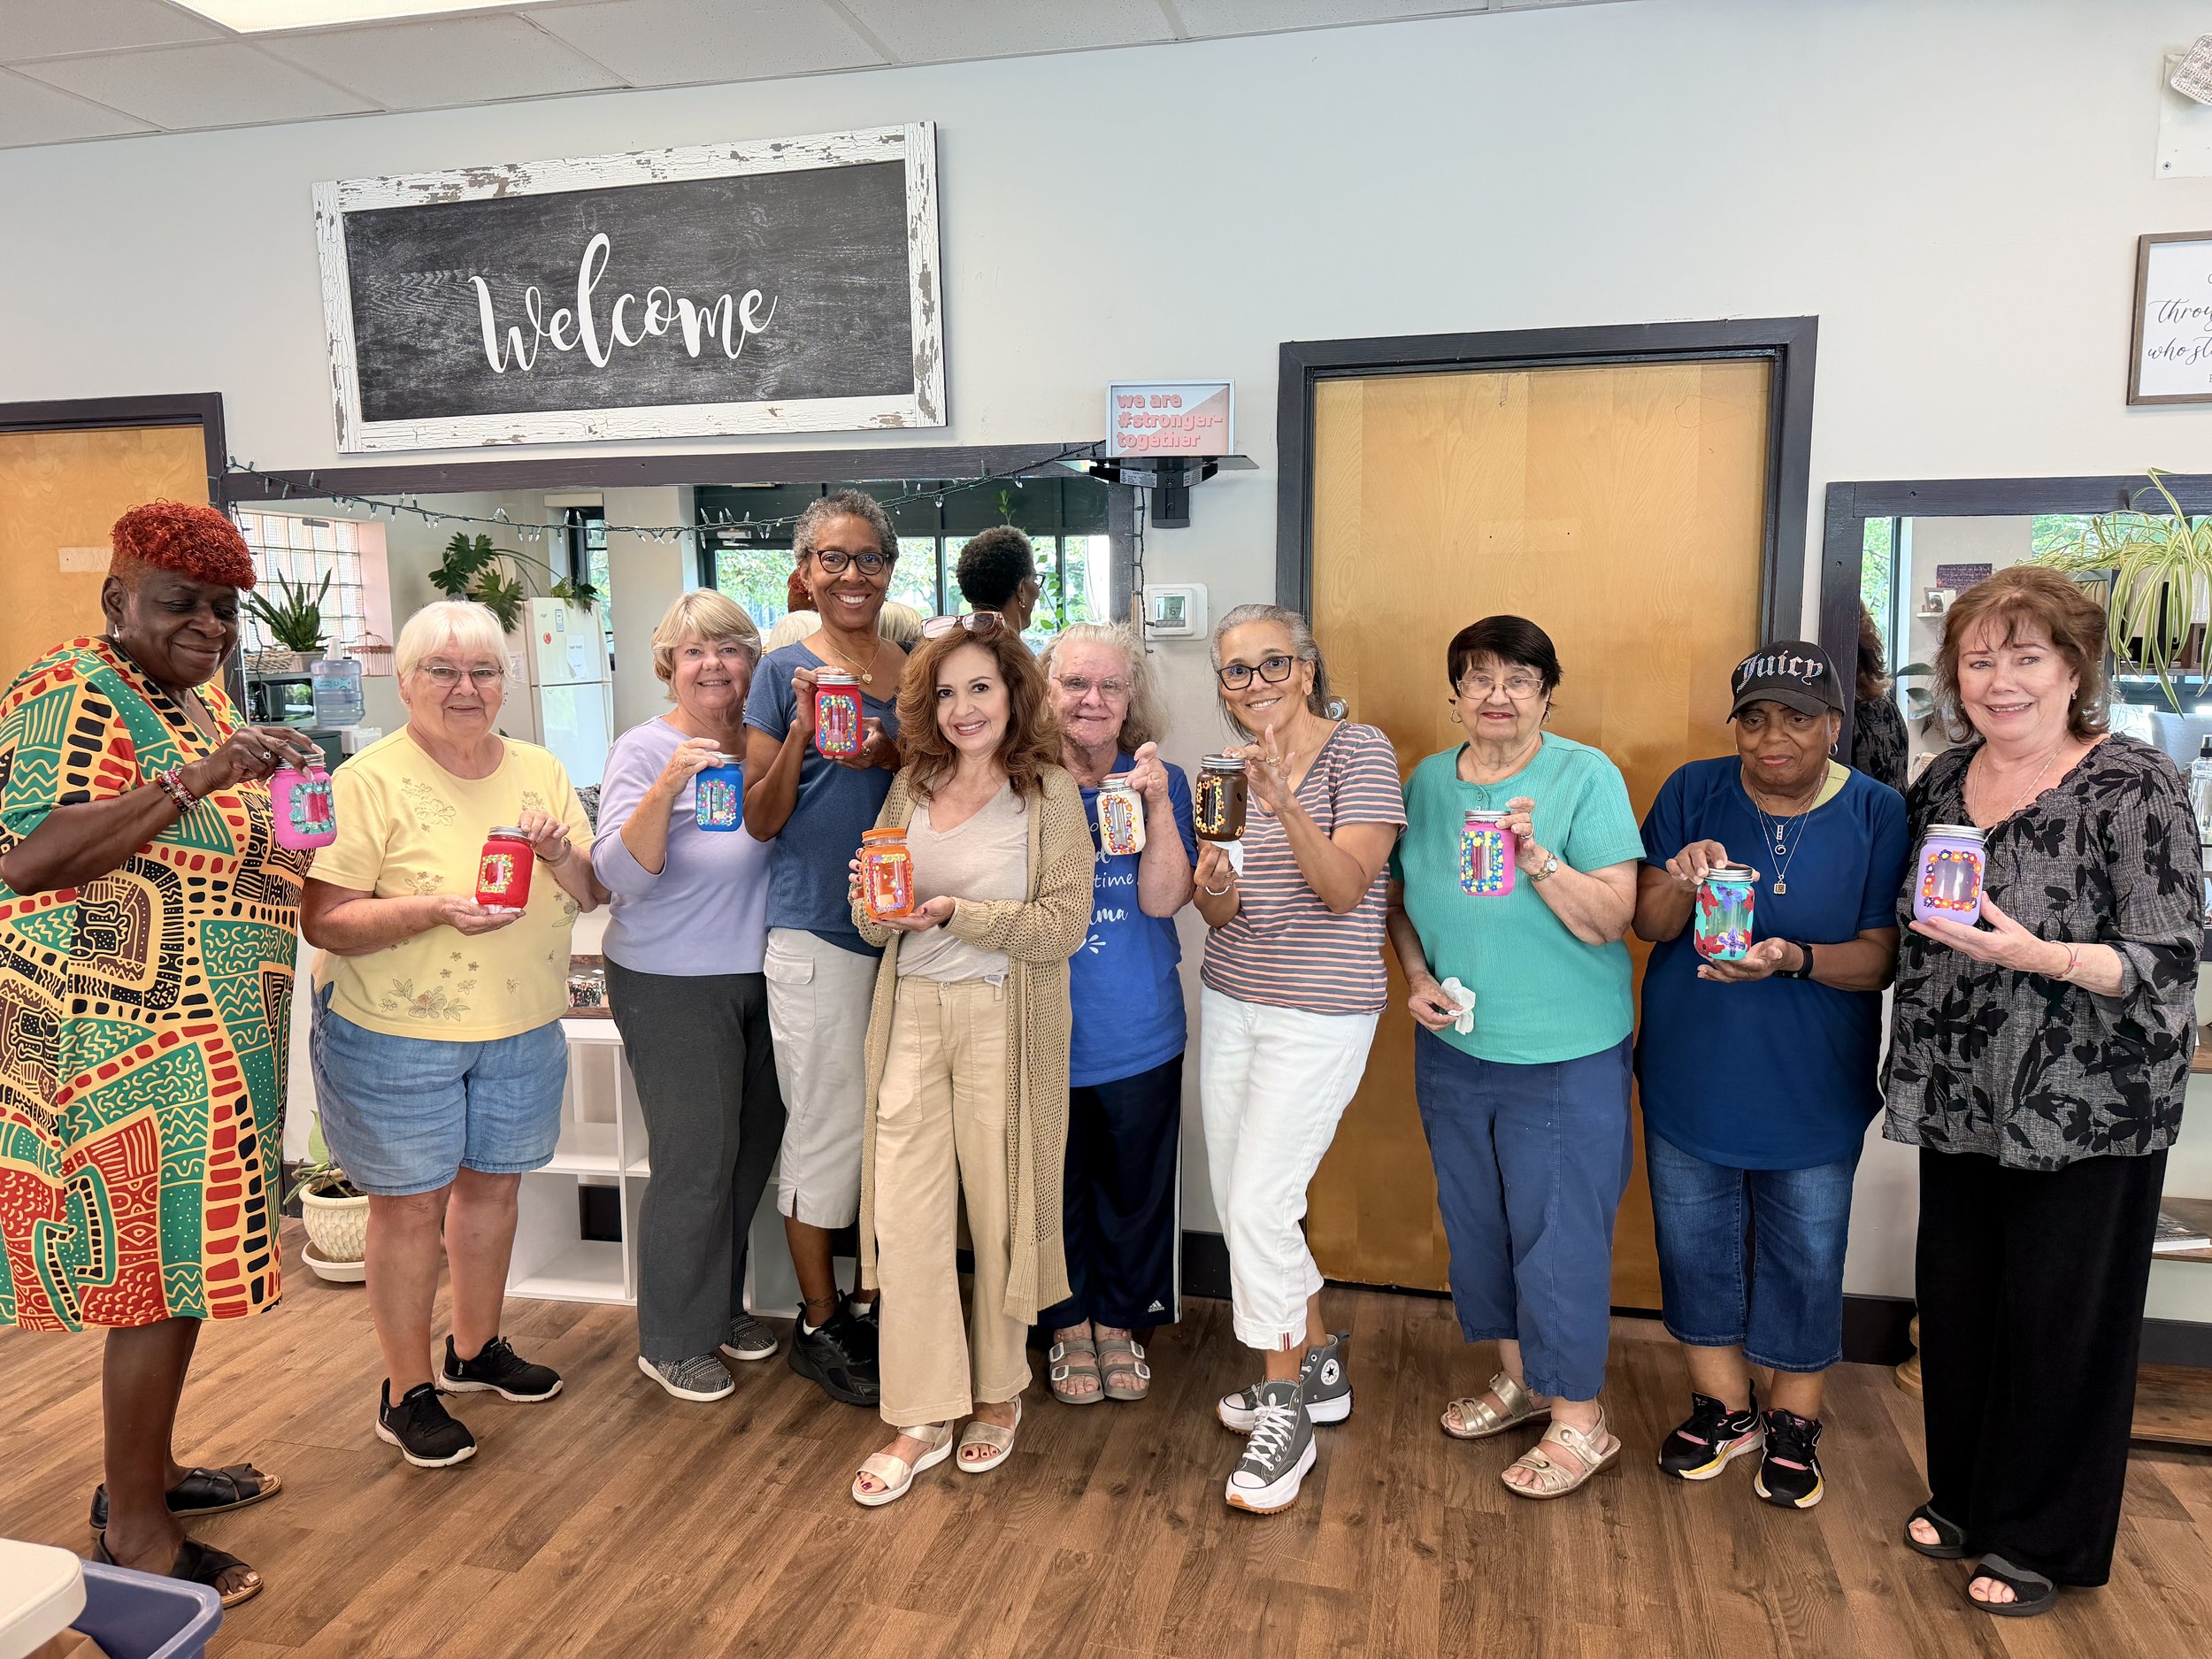
Painted Mason Jar Lanterns
One of the things I love most about this project is how accessible it is. With just a handful of inexpensive supplies, anyone can create something beautiful, no previous crafting experience required.
Our August senior craft featured hand-painted lanterns made from lightweight plastic mason jars, making them a safe alternative to glass for senior centers, assisted living communities, classrooms, and other group settings. Once decorated, each lantern was finished with an LED tea light (batteries included), creating a warm glow without the worry of an open flame.
This project is especially well-suited for senior centers, assisted living communities, libraries, recreation programs, and community organizations because the supplies are affordable, easy to source in bulk, flexible materials, and require very little setup. Heres the list so you can get crafting with your community! `
Supplies You'll Need (these are in bulk for teaching classes)
Cotton swabs (Q-tips) for adding dots and fine details
24 Pack Battery-operated LED tea lights (comes with batteries installed)
Optional additions: twine, ribbon, faux greenery, or seasonal embellishments.
Why This Craft Works So Well
Safe for all ages. Plastic mason jars won't shatter if dropped, making them ideal for seniors, children, and community events.
No artistic experience required. Foam brushes and cotton swabs make painting approachable for beginners.
Affordable for large groups. Nearly every supply is available in bulk, making it easy to prepare for classrooms, senior programs, libraries, and community organizations.
Minimal setup and cleanup. Just paint, brushes, cotton swabs, and tea lights.
A functional keepsake. Each participant leaves with a lantern they can proudly display at home.
How to create the lantern
Paint the jar. Apply acrylic paint to the outside of the plastic mason jar, leaving an unpainted "window" on the front so the LED tea light can shine through.
Add a second coat. Once the first coat is dry, apply a second coat of paint for full coverage. Allow the paint to dry completely before decorating.
Create your flowers. Choose two or more paint colors for your floral design. Dip one end of a cotton swab (Q-tip) into your first color and press it onto the jar to create the center of a flower.
Add the petals. Dip the opposite end of the Q-tip into a second color and dot five or six petals around the center to complete each flower. Repeat with different colors and sizes to create your own unique design.
Customize the lid (optional). Paint the lid to match your lantern, or leave it unpainted for a more rustic look.
Add the finishing touches. Tie ribbon or twine around the neck of the jar, then place the battery-operated LED tea light (batteries included) inside your lantern and enjoy!
Tips
Let each coat of paint dry completely before adding your flowers.
Experiment with different flower colors and sizes for a layered look.
Leave a generous clear window so the warm glow of the tea light is visible.
Since these are plastic mason jars, they're lightweight and shatter-resistant, making them a great choice for senior centers, classrooms, libraries, and community craft events.